
Question: How do I set up the AT8700 Adjustable Microphone Boom Arm?
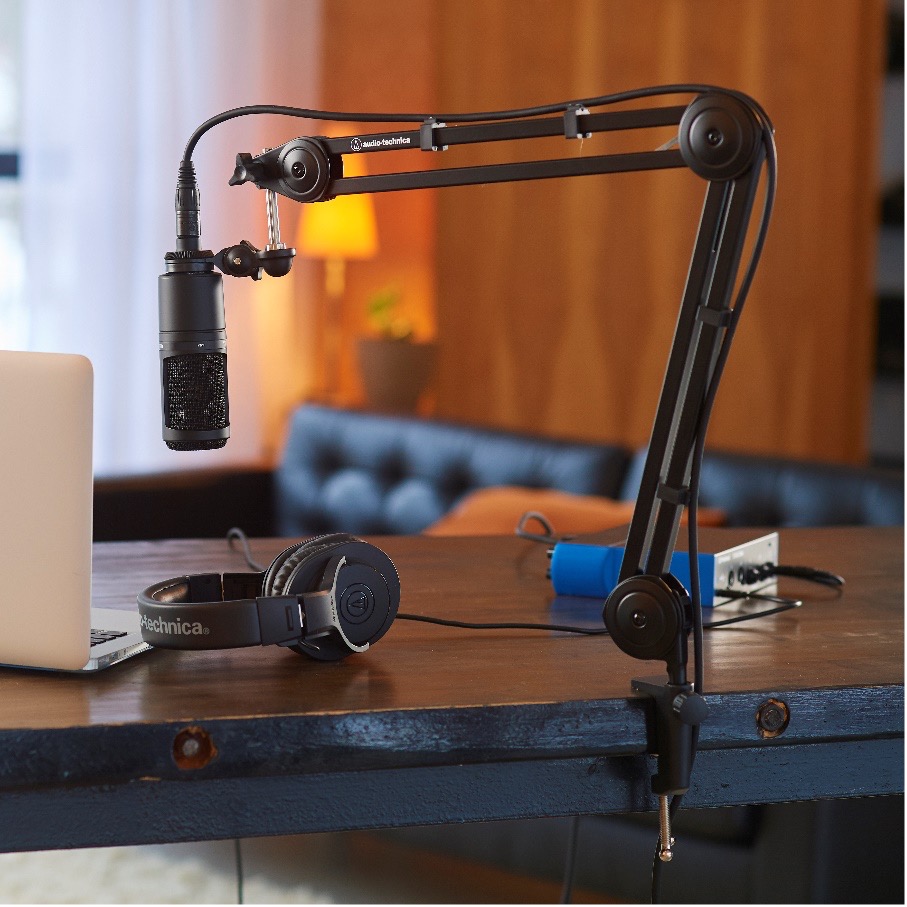
Answer: You can attach your favorite microphone to this professional-quality boom arm to add versatility to your recording or streaming setup and free up space. When purchased, it includes six USB cable clips, six XLR cable clips and a table clamp.
Setting up and using the AT8700
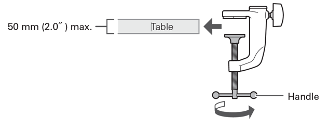
- Install the table clamp onto the edge of the installation table.
- Rotate the handle to secure the clamp firmly to the table.
- Install the table clamp so that it sits perfectly flat on the top and bottom table surfaces.
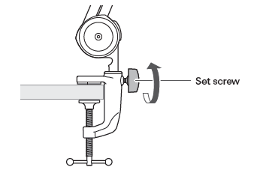
- Insert the arm into the arm mounting section (hole on top surface of table clamp).

- After setting the arm direction, rotate the set screw to secure the arm.
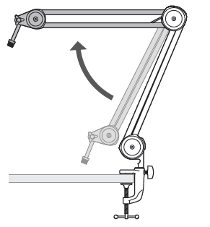
- Adjust the arm to the desired position.
- The arm is designed to have semi-rigid moving parts. Hold the arm securely when adjusting the arm angle. Take care not to apply too much force.
- Be careful not to catch your fingers in the arm or in the gaps between the moving parts.
- Attach the microphone to the microphone mounting section and secure the microphone with the set screw.
- Check the specifications of the microphone being attached, and use a threaded adapter if necessary.
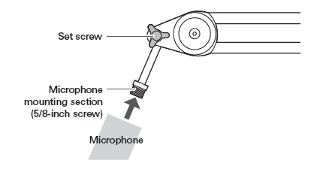
**** Note**** All Audio-Technica microphone clips and shock mounts have a 5/8"-27 thread. If you have another size mount you will need an adapter (not sold or provided by Audio-Technica).
- The microphone cable can be secured along the arm. Use the cable clips (for USB cable or for XLR cable) as shown in the diagram (at 4 locations) to secure the cable.

If you have further questions about this product or any Audio-Technica product, please contact the Audio Solutions Department for additional assistance.