How to change the stylus on the AT-VM95 series Phono Cartridge
Watch our video on how to replace the stylus on a Moving Magnet Turntable Cartridge
Alternatively follow these steps showing you how to replace the stylus on a Moving Magnet Turntable Cartridge using an AT-VM95 Series phono cartridge as an example.
1. Secure the tonearm to its rest using the locking clamp.
2. If you still have the clear stylus protector, slide it over the stylus assembly. (If you do not have this protector, it is not necessary. Just be careful not to touch the needle. Please move on to the next step.)
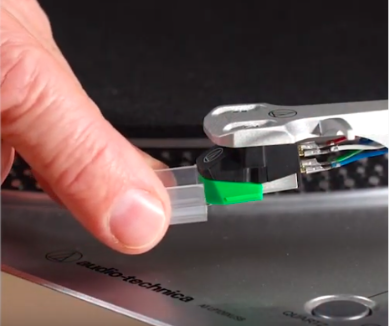
3. Carefully remove the headshell from the tonearm by loosening the headshell locking ring.
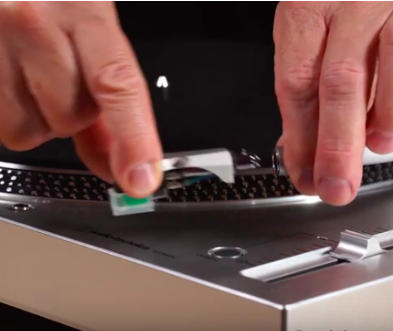
4. While holding the headshell upside down in one hand, grasp the sides of the stylus assembly with the other.
5. Slowly pull the stylus assembly up and off the cartridge body using a slight rocking motion.
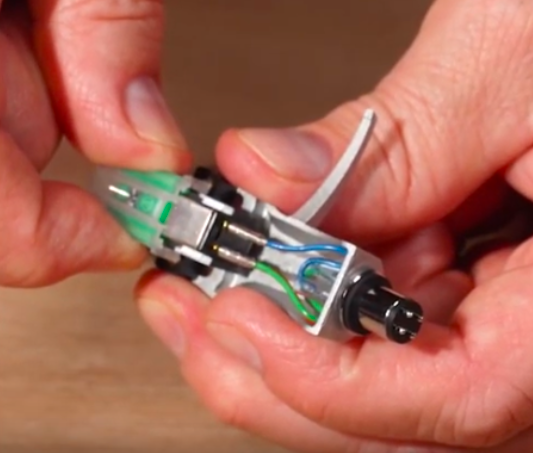
6. Remove the new stylus from its packaging, and make certain the stylus assembly is fully seated in its protector.
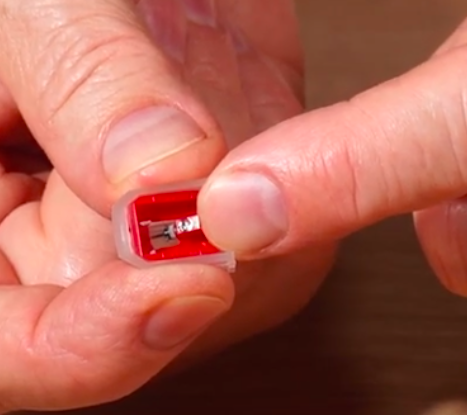
7. Carefully grasp the sides of the new stylus in its protector. While holding the headshell, align the tab on the inner portion of the stylus assembly with the rectangular opening in the cartridge body.
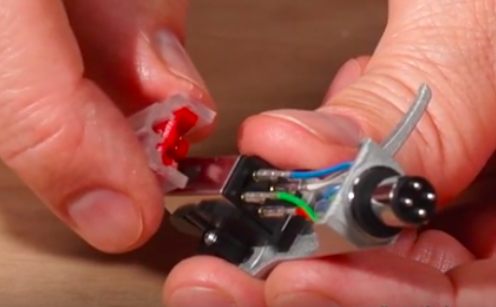
8. Carefully press the stylus assembly into the cartridge body. It will seat firmly with a slight “click” sound.
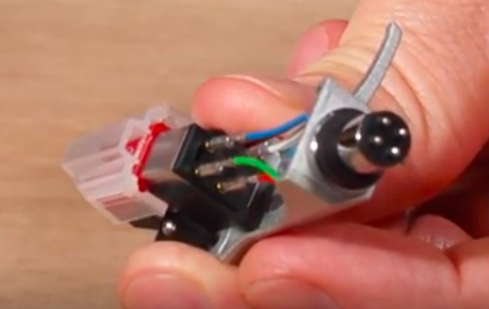
9. Without removing the stylus protector, reinstall the headshell with cartridge assembly onto the tonearm.
10. Tighten the headshell locking ring by turning it in a counterclockwise direction. As the ring rotates, it pulls the headshell into its seated position.
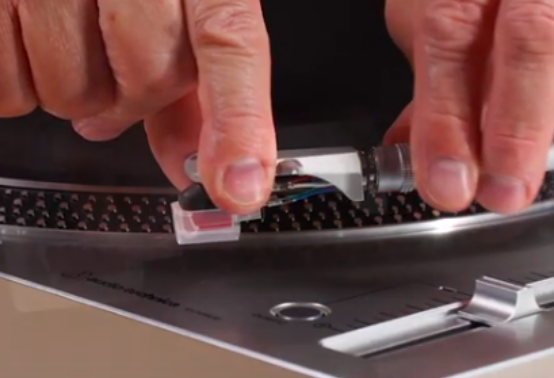
11. Remove the stylus protector, and release the tonearm locking clamp.
Provided the counterweight did not move during this process, you should not have to rebalance the tonearm or reset the tracking force. Although you are more than welcome to double-check this at your own discretion.
If you have any further issues during the setup or have any follow-up questions, we invite you to contact us so that we can offer you further advice.